Documentation Index
Fetch the complete documentation index at: https://docs.usefini.com/llms.txt
Use this file to discover all available pages before exploring further.
Overview
The AI Agents page is your starting point in Fini. Every AI agent you create is an independent unit with its own knowledge base, prompt configuration, tags, attributes, actions, and deployment channels. You can run multiple agents side by side: one for customer support, another for internal IT, another scoped to a specific product line.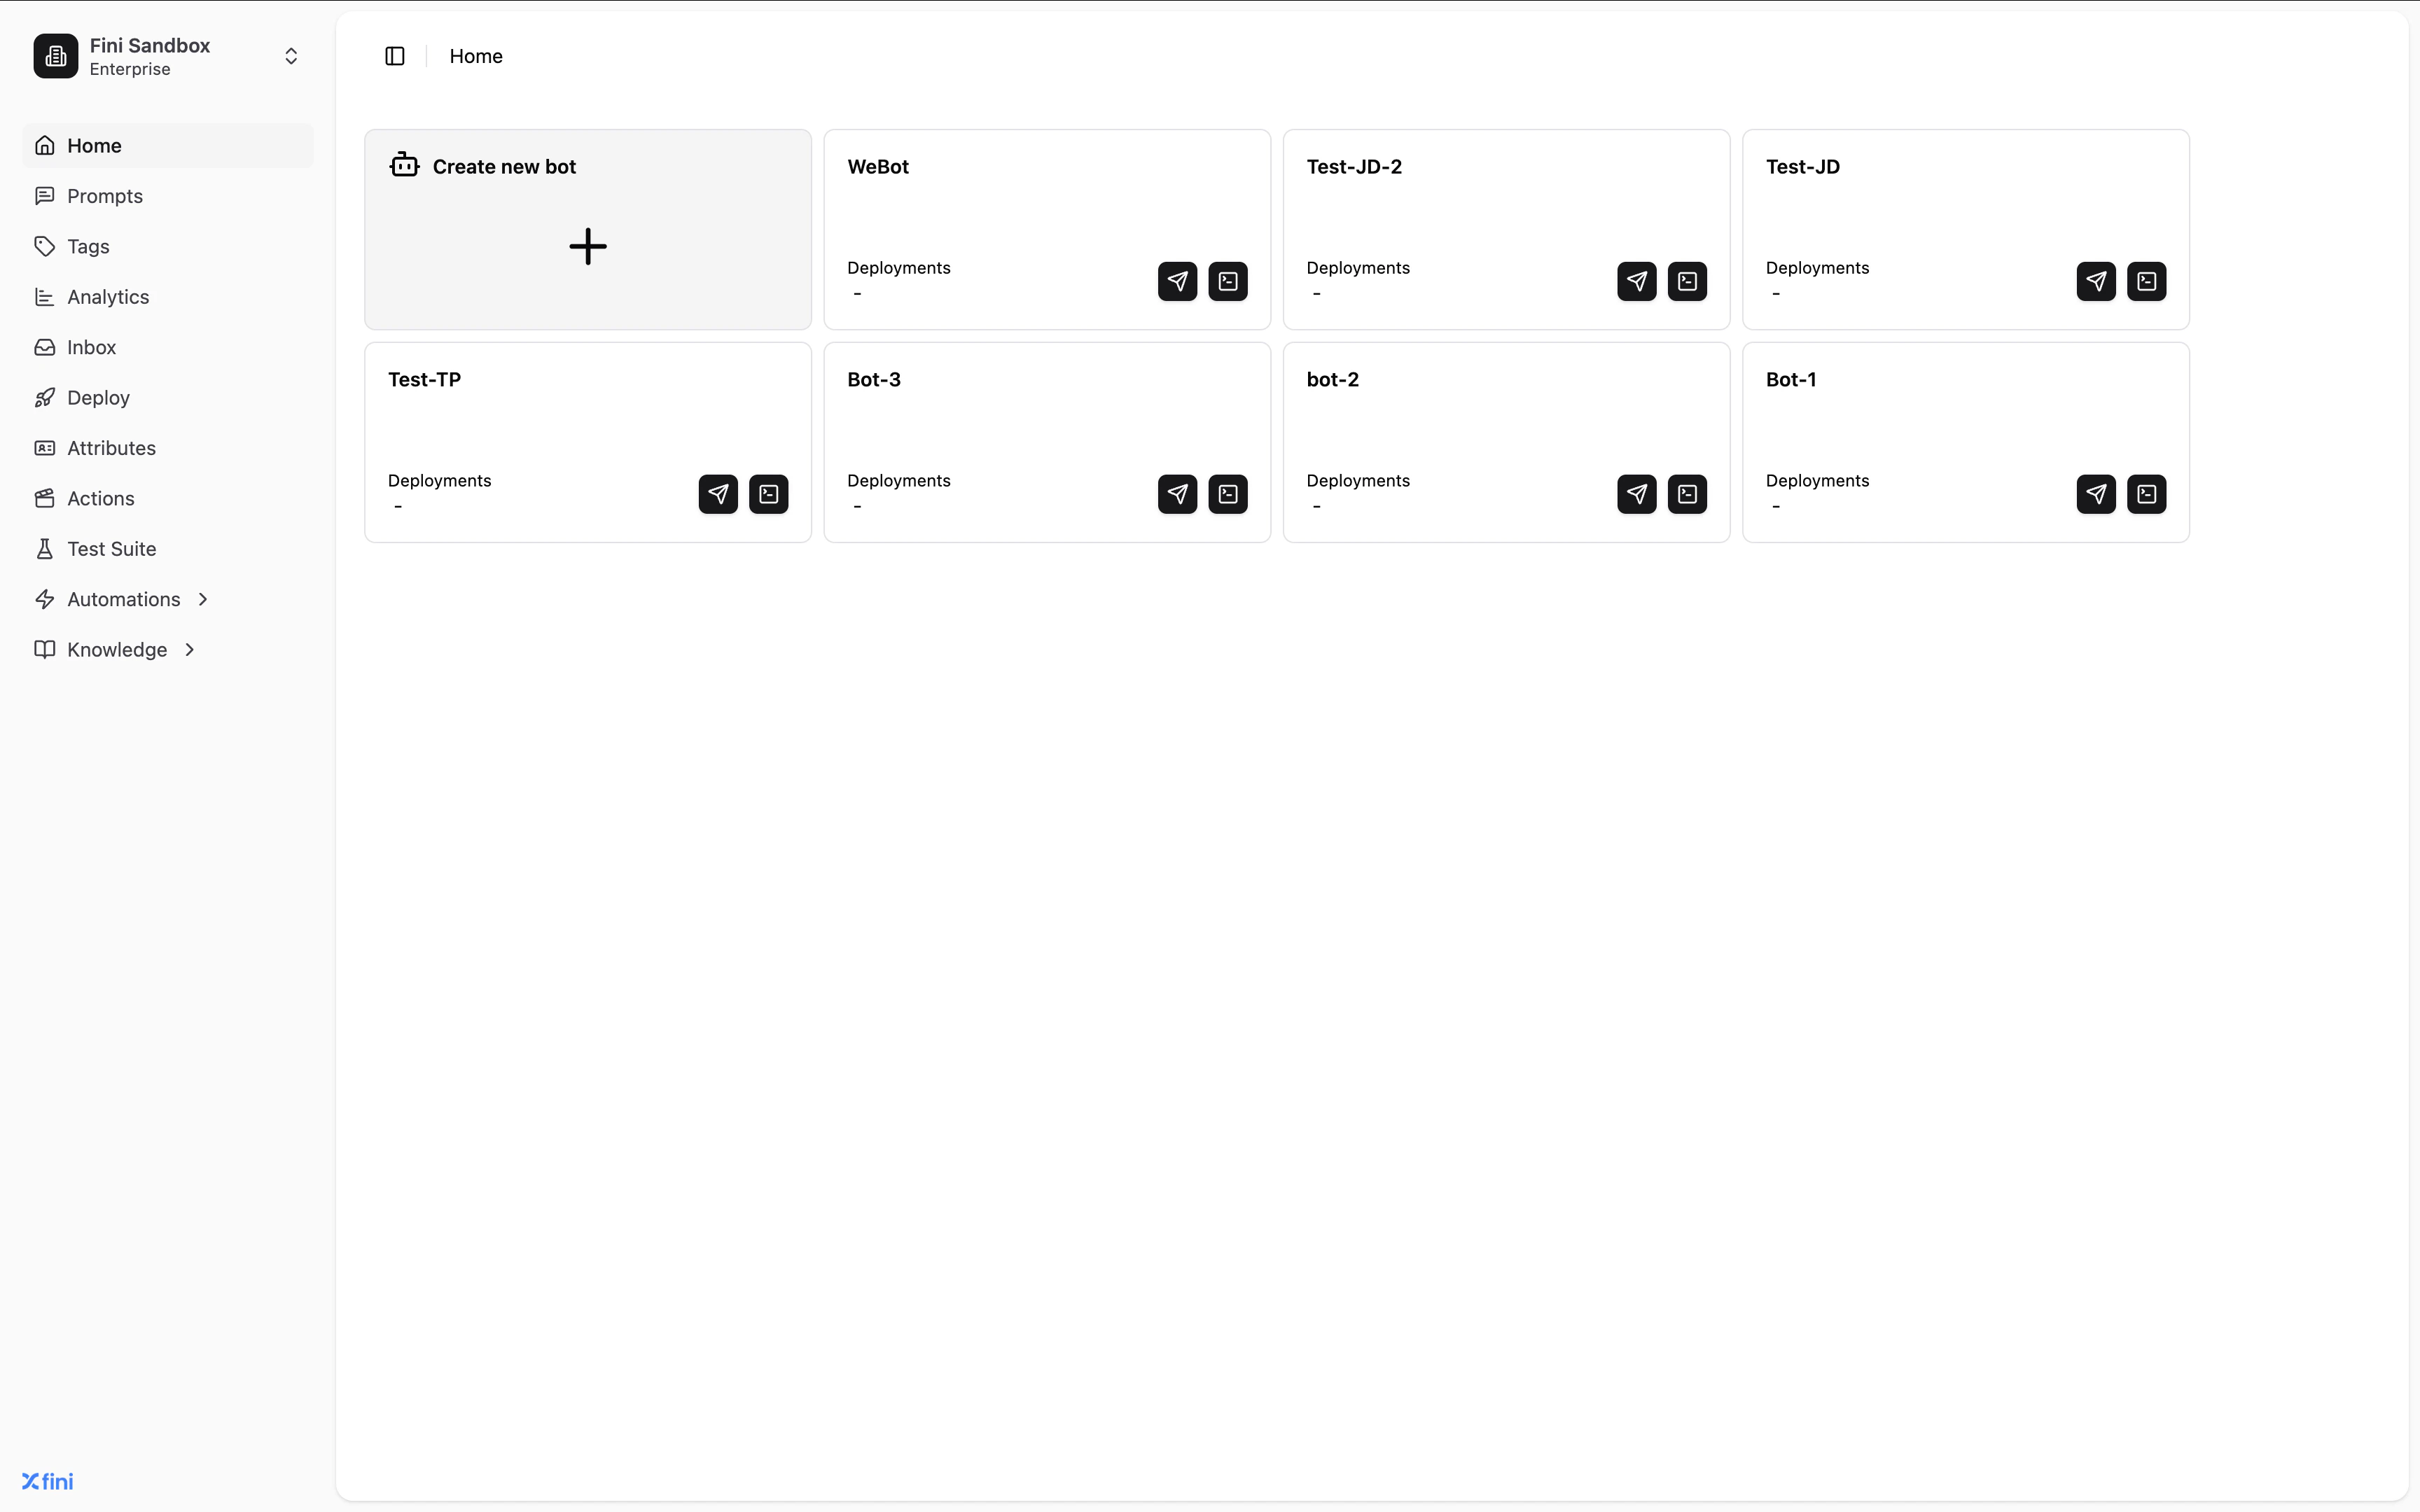
Creating an AI agent
Click the Create new bot card in the top-left of the grid to open the creation dialog.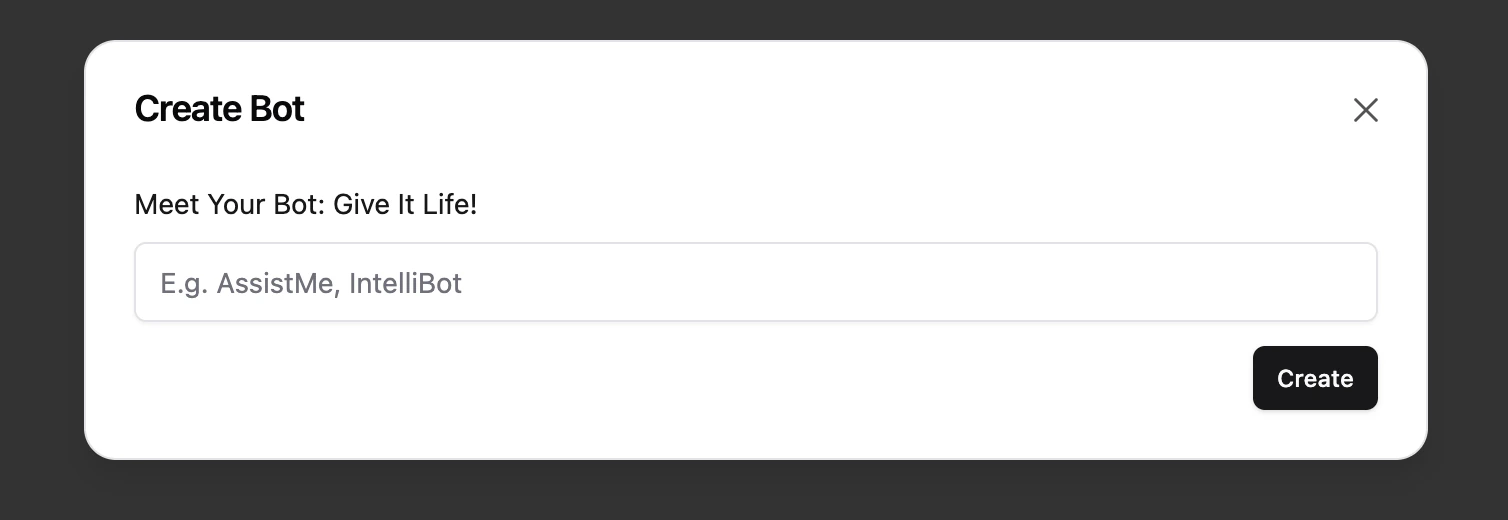
Support-AI, Marketing-AI-Agent, or IntelliBot. Click Create and Fini adds the agent to your grid ready for configuration.
The agent card
Each card in the grid represents one AI agent and shows:- Agent name: the identifier you chose at creation
- Deployments: the number of active output integrations the agent is live on (Zendesk, Intercom, widget, etc.)
- Deploy button: navigates directly to the Deploy page for that agent
- Playground button: opens the Playground so you can test the agent immediately
A new agent shows Deployments: — until you connect at least one output integration on the Deploy page.
Working within a specific agent
Most pages in Fini (Knowledge, Inbox, Test Suite, and Analytics) scope their data to a single agent using the agent selector in the top-right corner. This lets you work with one agent’s data without switching accounts.Knowledge
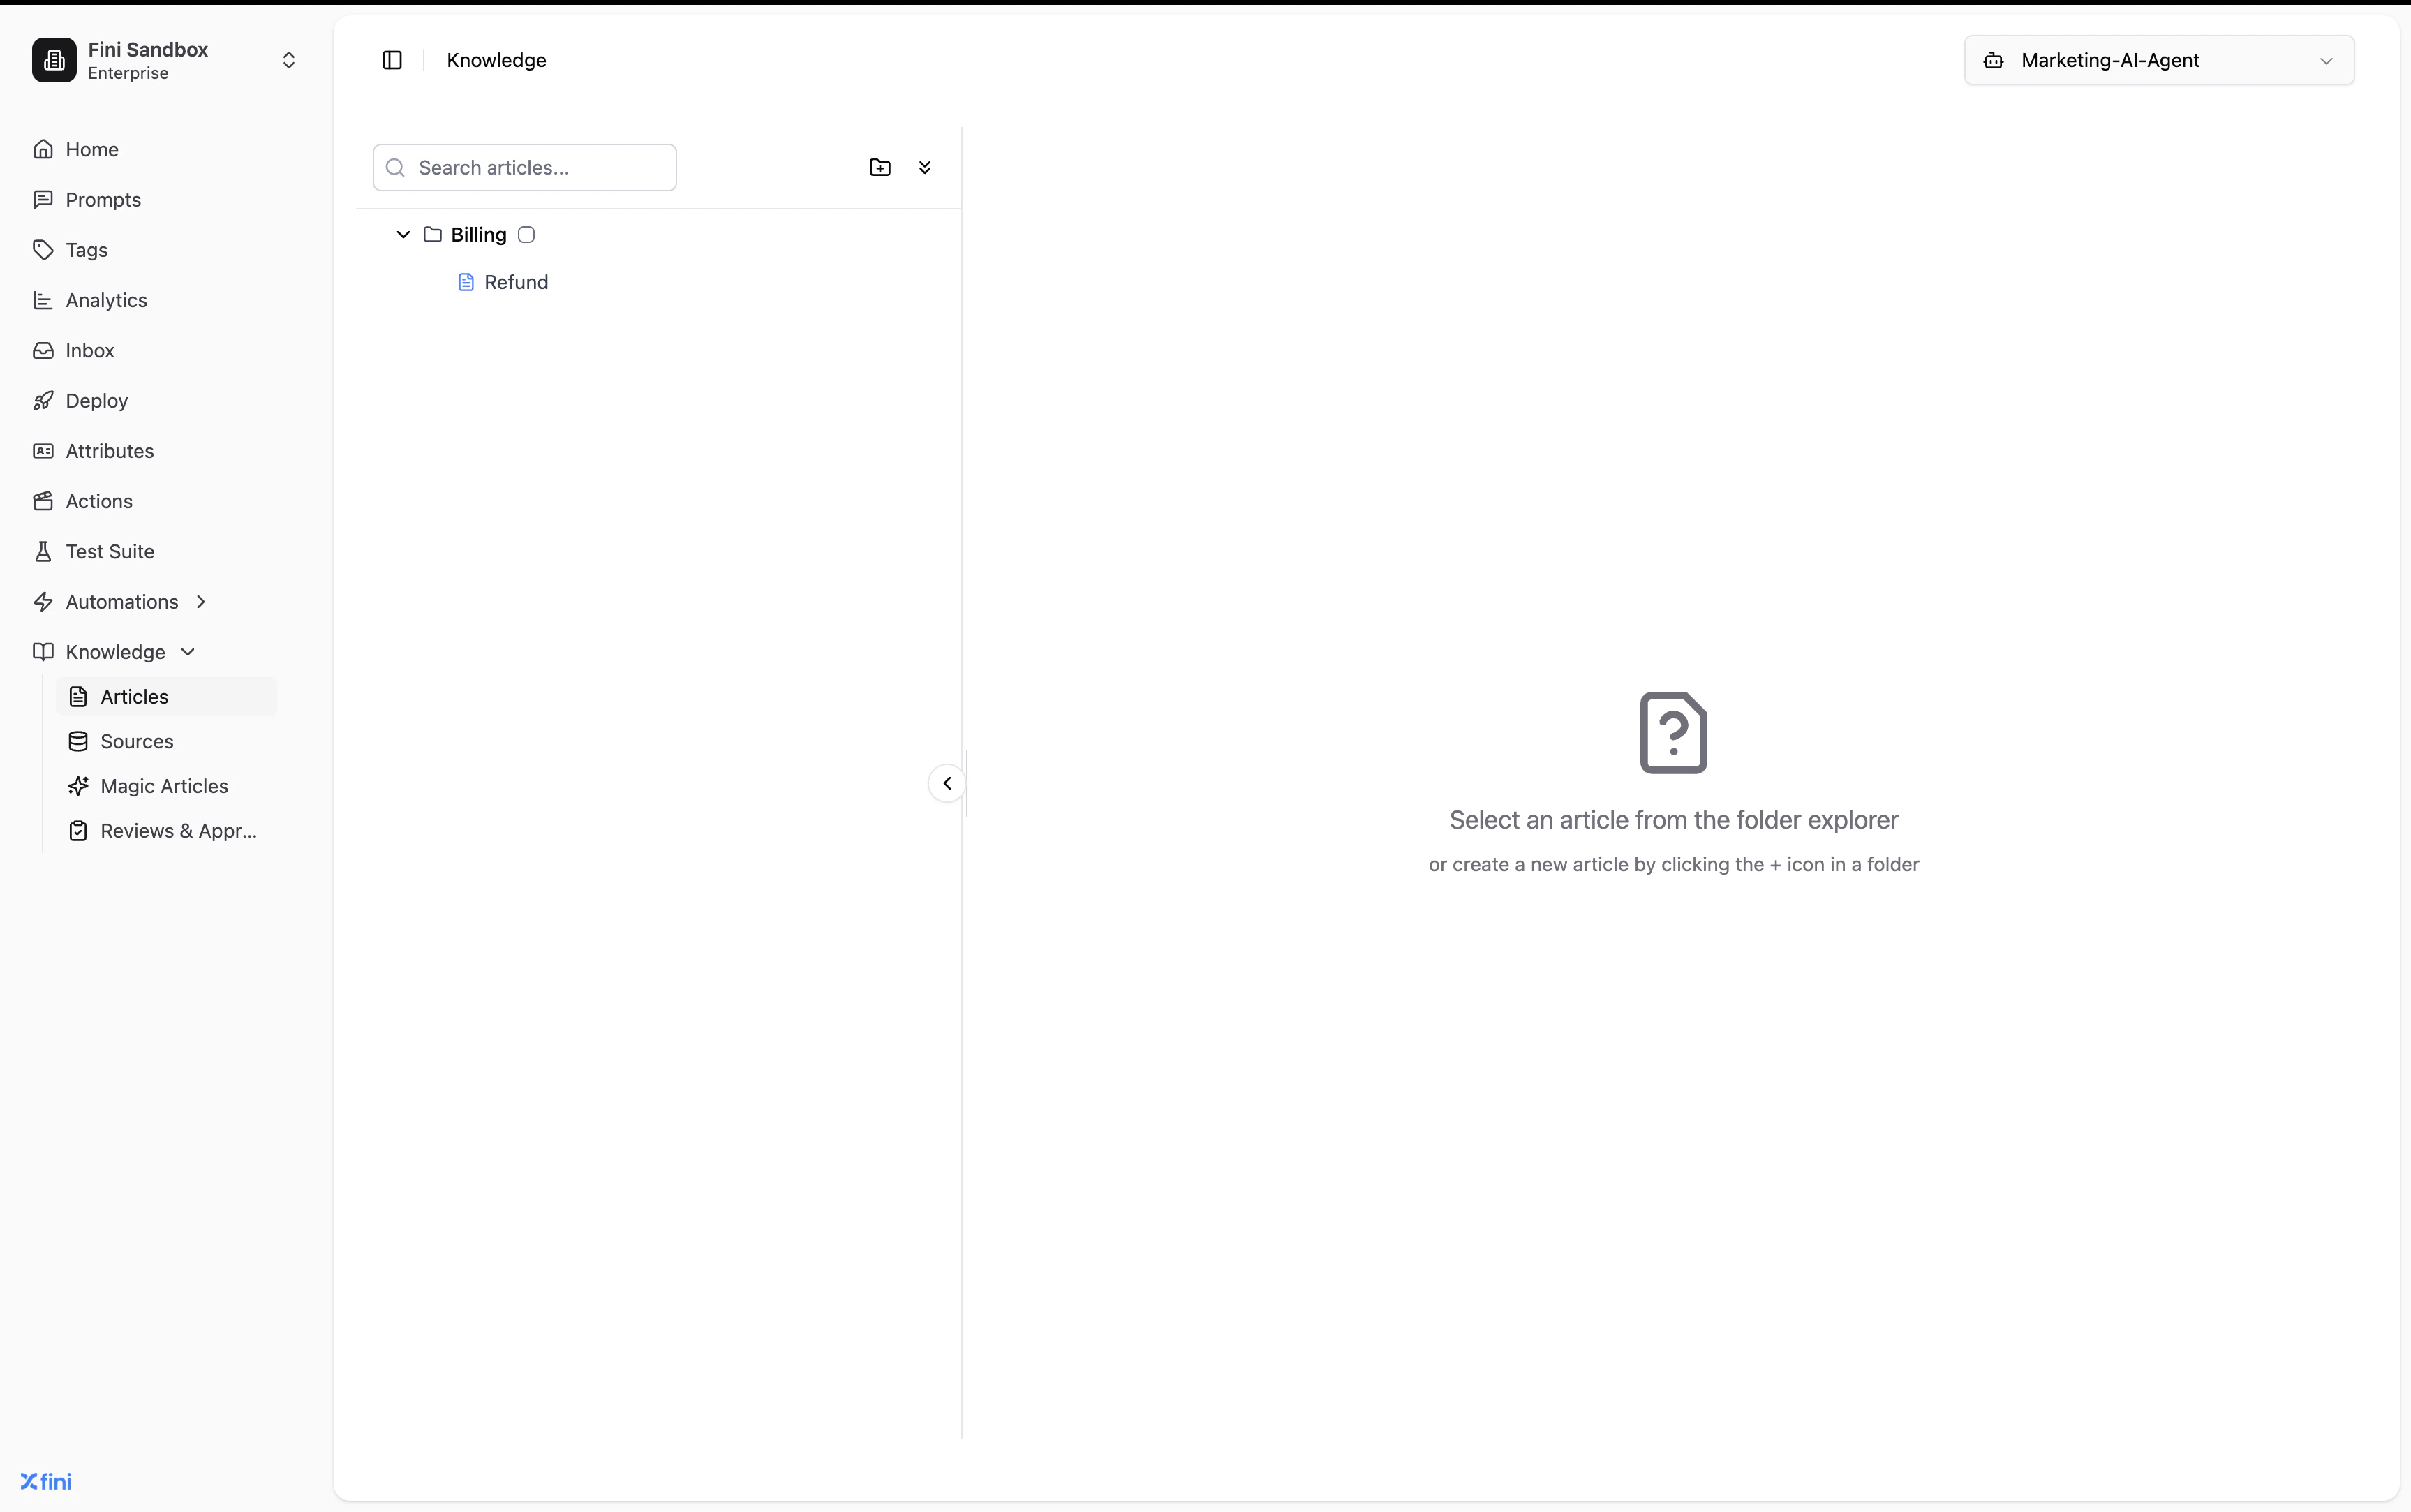
When set to All, the Knowledge page shows every article across every agent in your account. Switch the selector to a specific agent to filter the folder tree and article list to only the knowledge connected to that agent.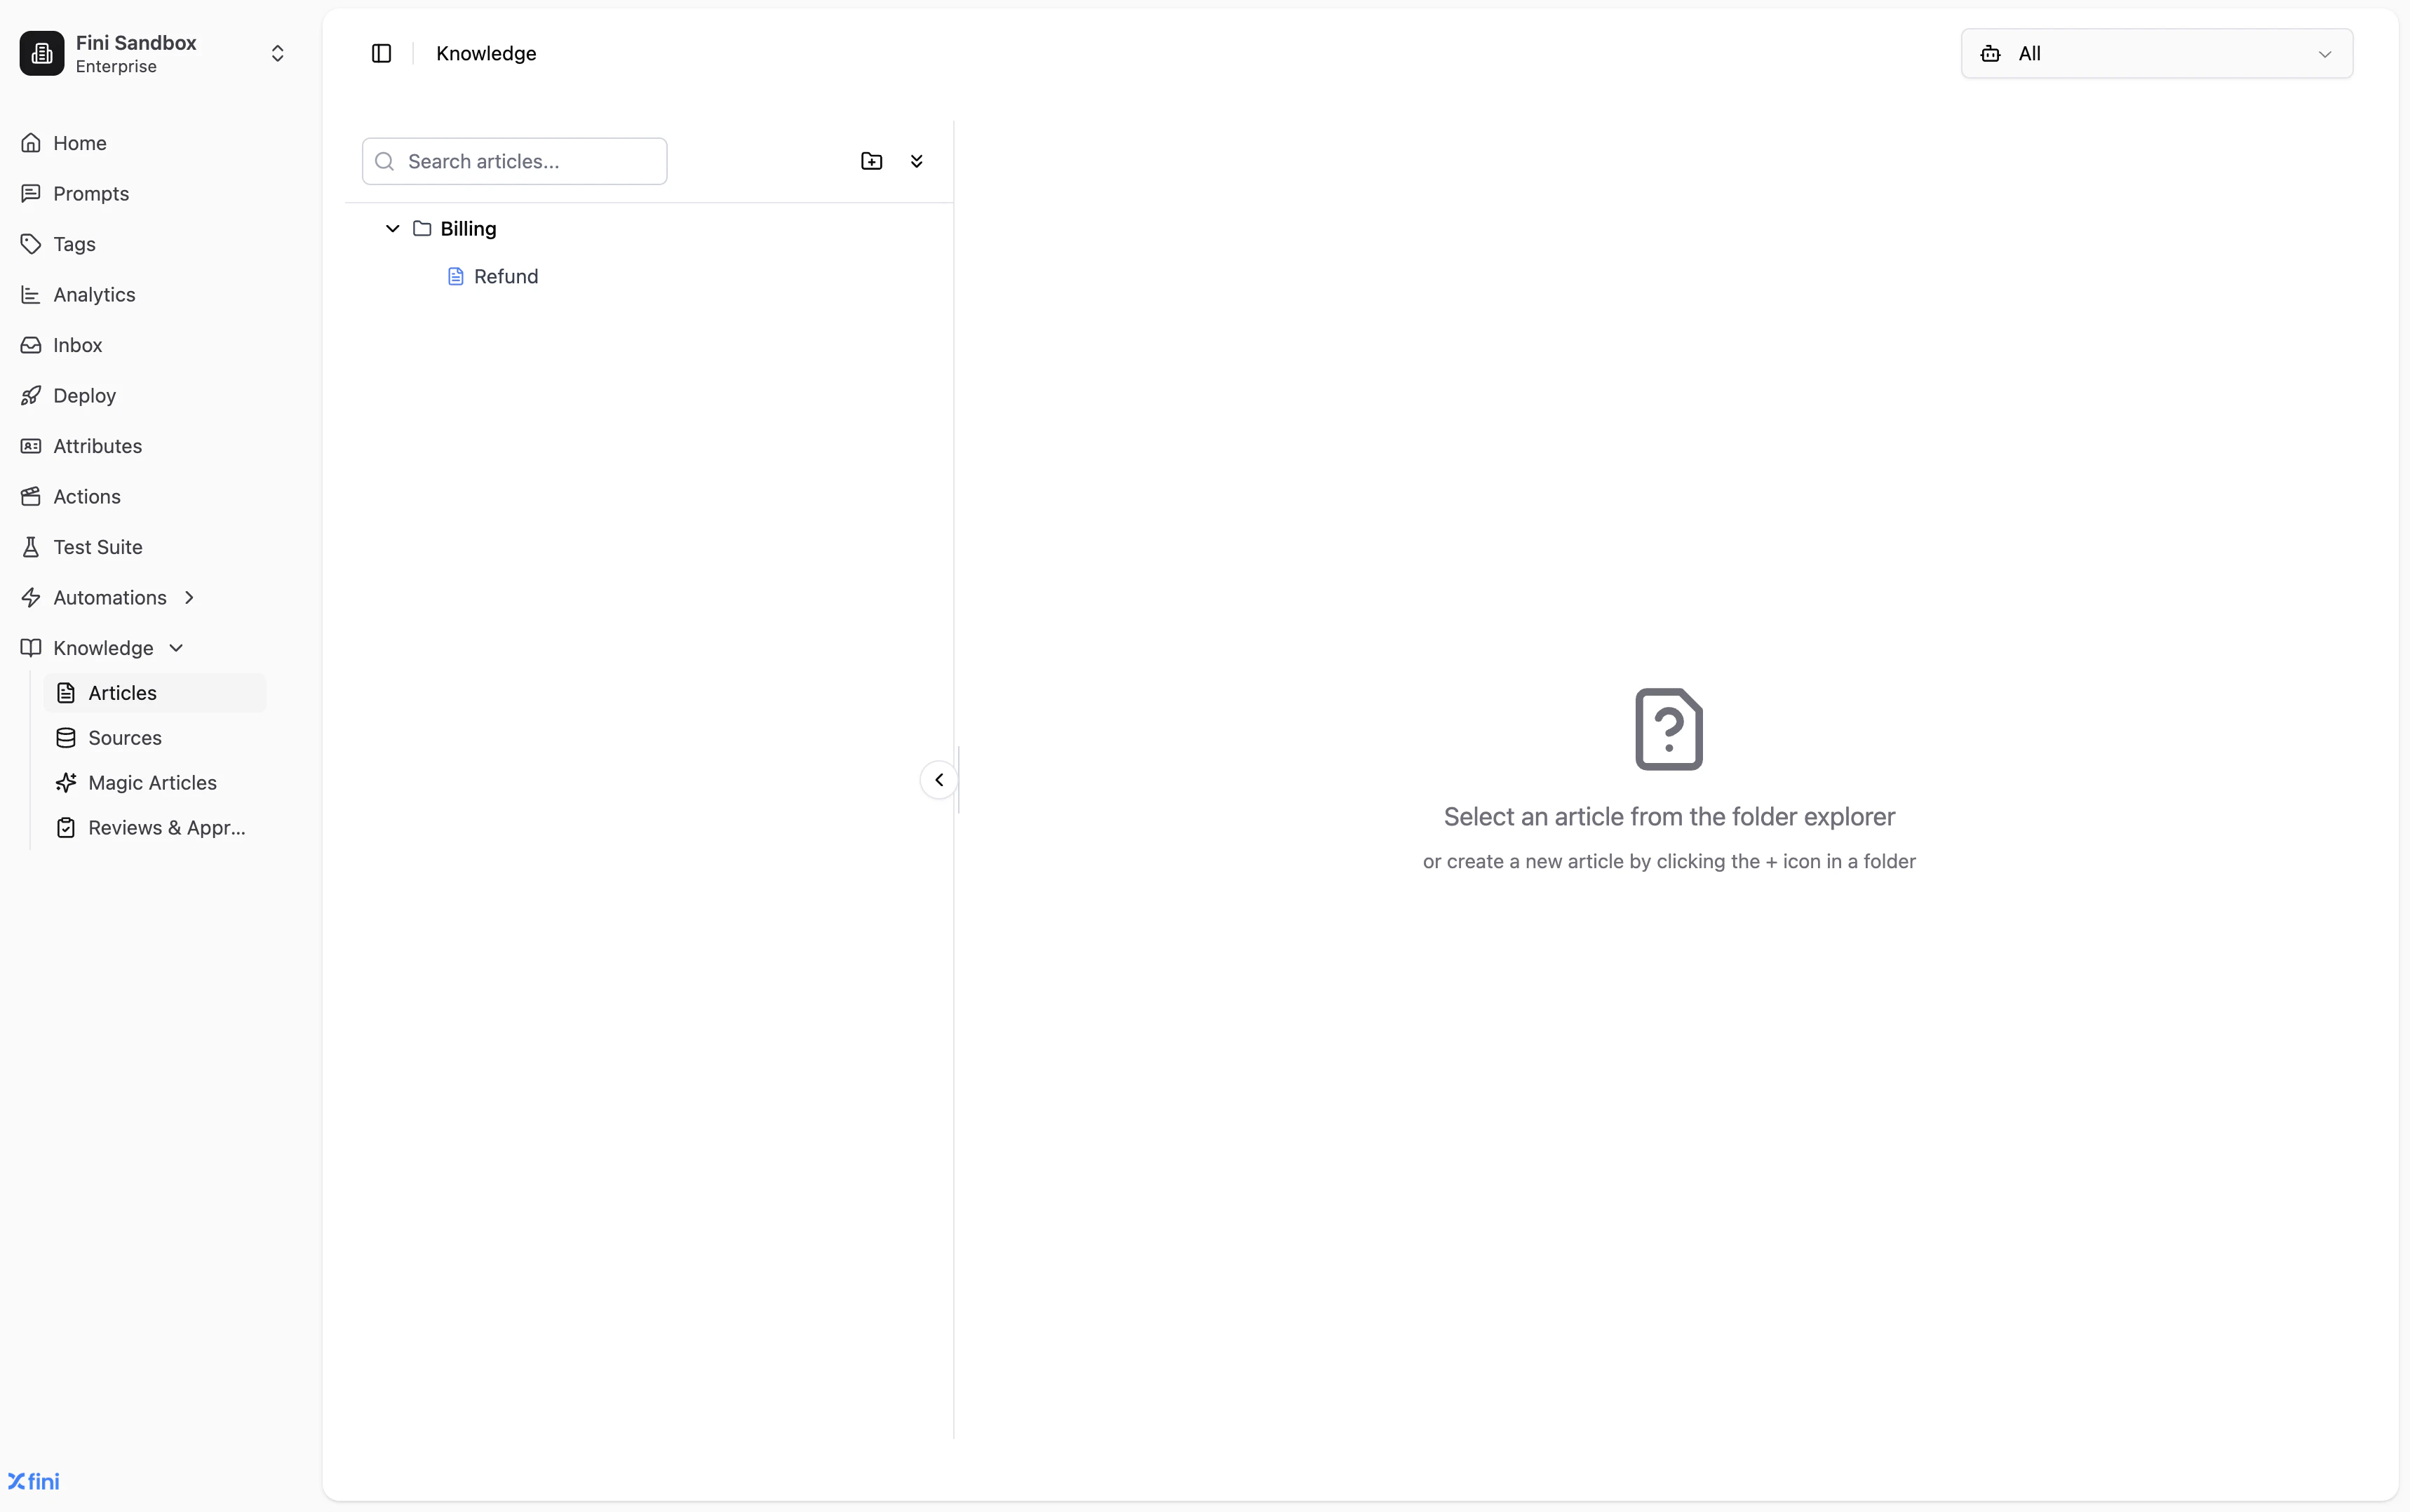
Inbox
The Inbox scopes conversations to a single agent the same way. Once you select an agent, use the date range picker and filter chips (Knowledge, Ticket Id, Conversation status, Fini Touched, Feedback, Feedback Notes, Channel) to drill into exactly the conversations you need.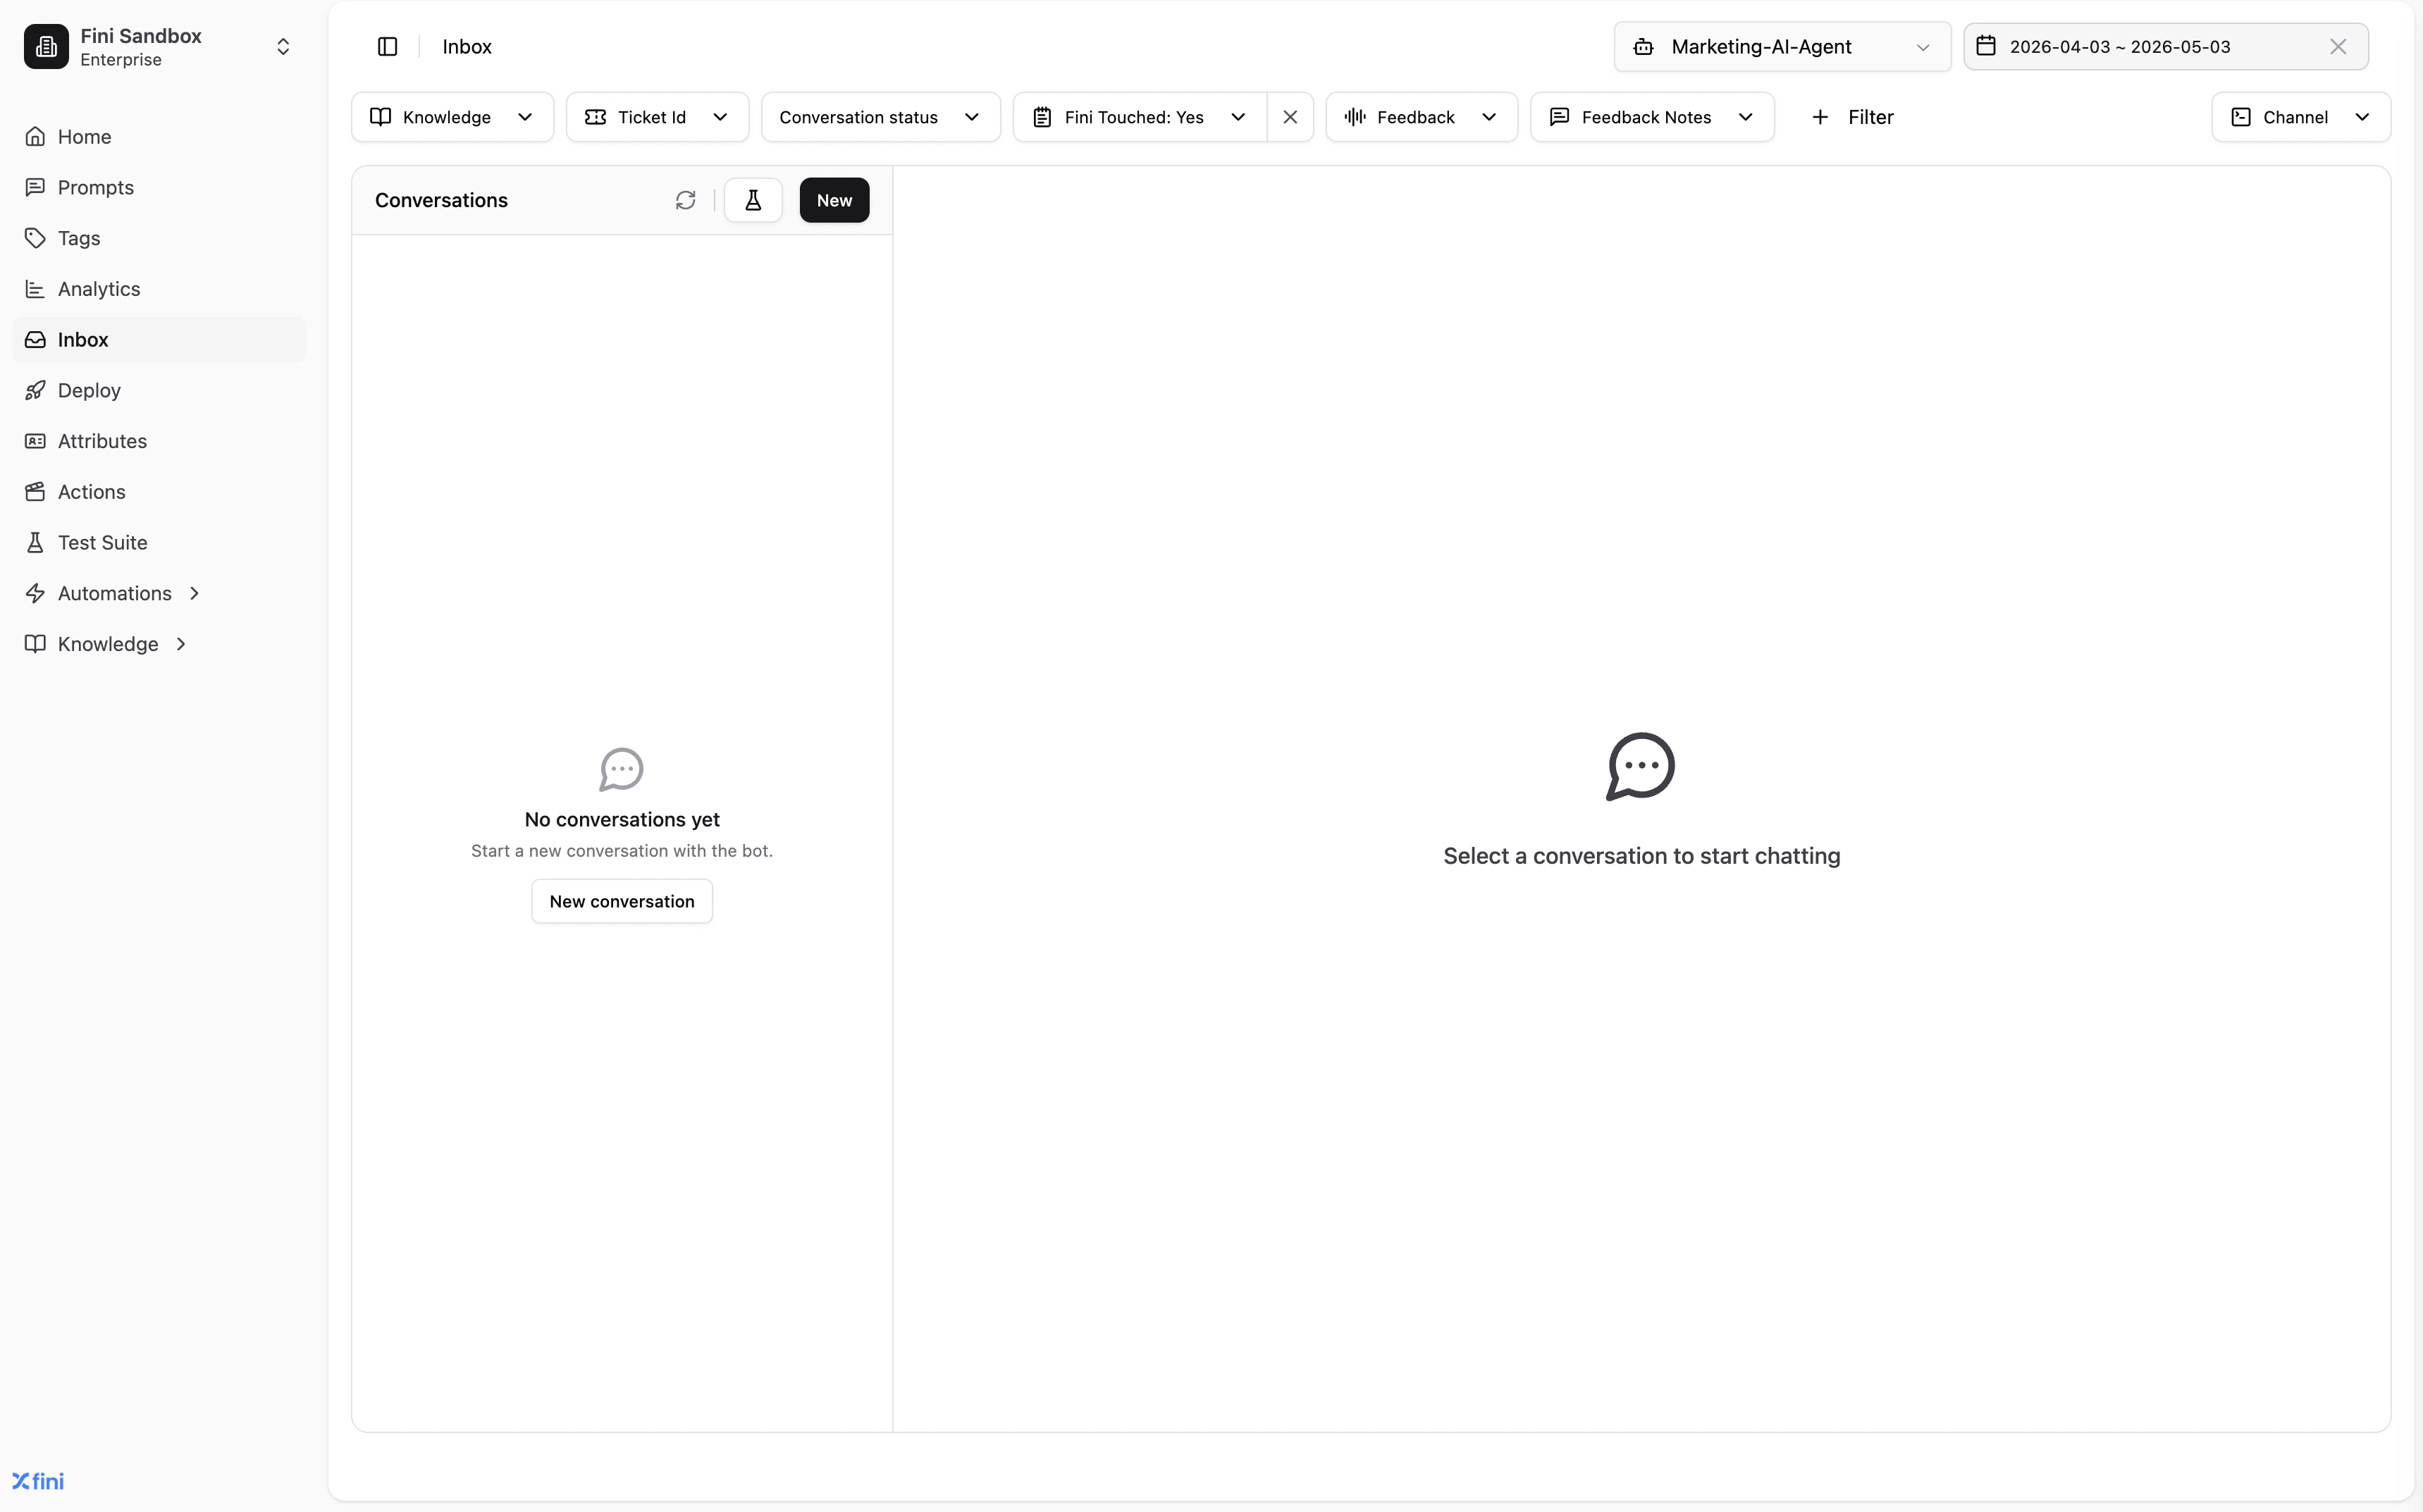
Related
Sources
Connect your knowledge base to the agent so it can answer questions accurately.
Deploy
Connect the agent to Zendesk, Intercom, your widget, or other channels.
Inbox
Review conversations, tag outcomes, and audit AI decisions per agent.
Prompts
Define how the agent reasons, responds, and escalates.