

fini_escalated_human_agent; LiveChat is chat-only, with one Fini agent handling every conversation.
Connect Fini to LiveChat so your AI agent can read incoming chat conversations, draft replies, and respond as an agent in your LiveChat workspace. Configuration lives entirely on the Fini side once LiveChat is authorized: agent routing, reply timing, and reply-behavior rules are all set from the LiveChat deploy page.
At a glance
Before you connect
You’ll need:- A LiveChat account with permission to install third-party apps and create agents.
- A LiveChat application registered in the LiveChat Developer Console. The application provides the Client ID and Client Secret you’ll paste into Fini.
- A name for the agent. Fini creates a new agent in your LiveChat workspace using this name. It’s the name your customers see when the agent replies in chat.
- At least one agent already created in Fini. If you haven’t created one yet, do that first from Agent home.
Create a LiveChat application
In your LiveChat Developer Console:- Click New app, give it a name (for example, “Fini”).
- Add a Server-side webhooks building block if you want LiveChat to push events to Fini.
- Add an Agent App Authorization block configured for OAuth 2.0.
- Redirect URI whitelist:
https://api-prod.usefini.com/v2/integrations/livechat/auth/callback
- Redirect URI whitelist:
- Under App authorization, copy the Client ID and Client Secret. You’ll paste these into Fini.
- Make sure the application has the access scopes Fini needs (read and write on chats, agents, and customer data). LiveChat’s developer documentation lists the available scopes.
What Fini does with your LiveChat
The OAuth scopes Fini requests are determined by the LiveChat application you create. LiveChat shows the full permission list on the consent screen during authorization. The full list of side effects performed during and after authorization:- Read account identity so Fini knows which LiveChat organization it’s acting on behalf of.
- Create an agent in your LiveChat workspace using the Agent Name you configured. This is the agent that posts replies on chats. Fini also issues an agent token tied to this agent so it can act on incoming conversations.
- Read incoming chat events and threads so the agent can understand context and compose replies.
- Post replies as the agent when a mapped Fini agent decides to respond.
- Read and create tags: Fini creates and uses LiveChat tags to mark conversation state:
fini_escalated_human_agent,fini_resolved, andfini_waiting_for_customer. If tags with these names already exist, Fini reuses them.
Connect LiveChat
When you first open the LiveChat deploy page, the Connection Details panel asks for your LiveChat application’s credentials, webhook secret, and bot agent name.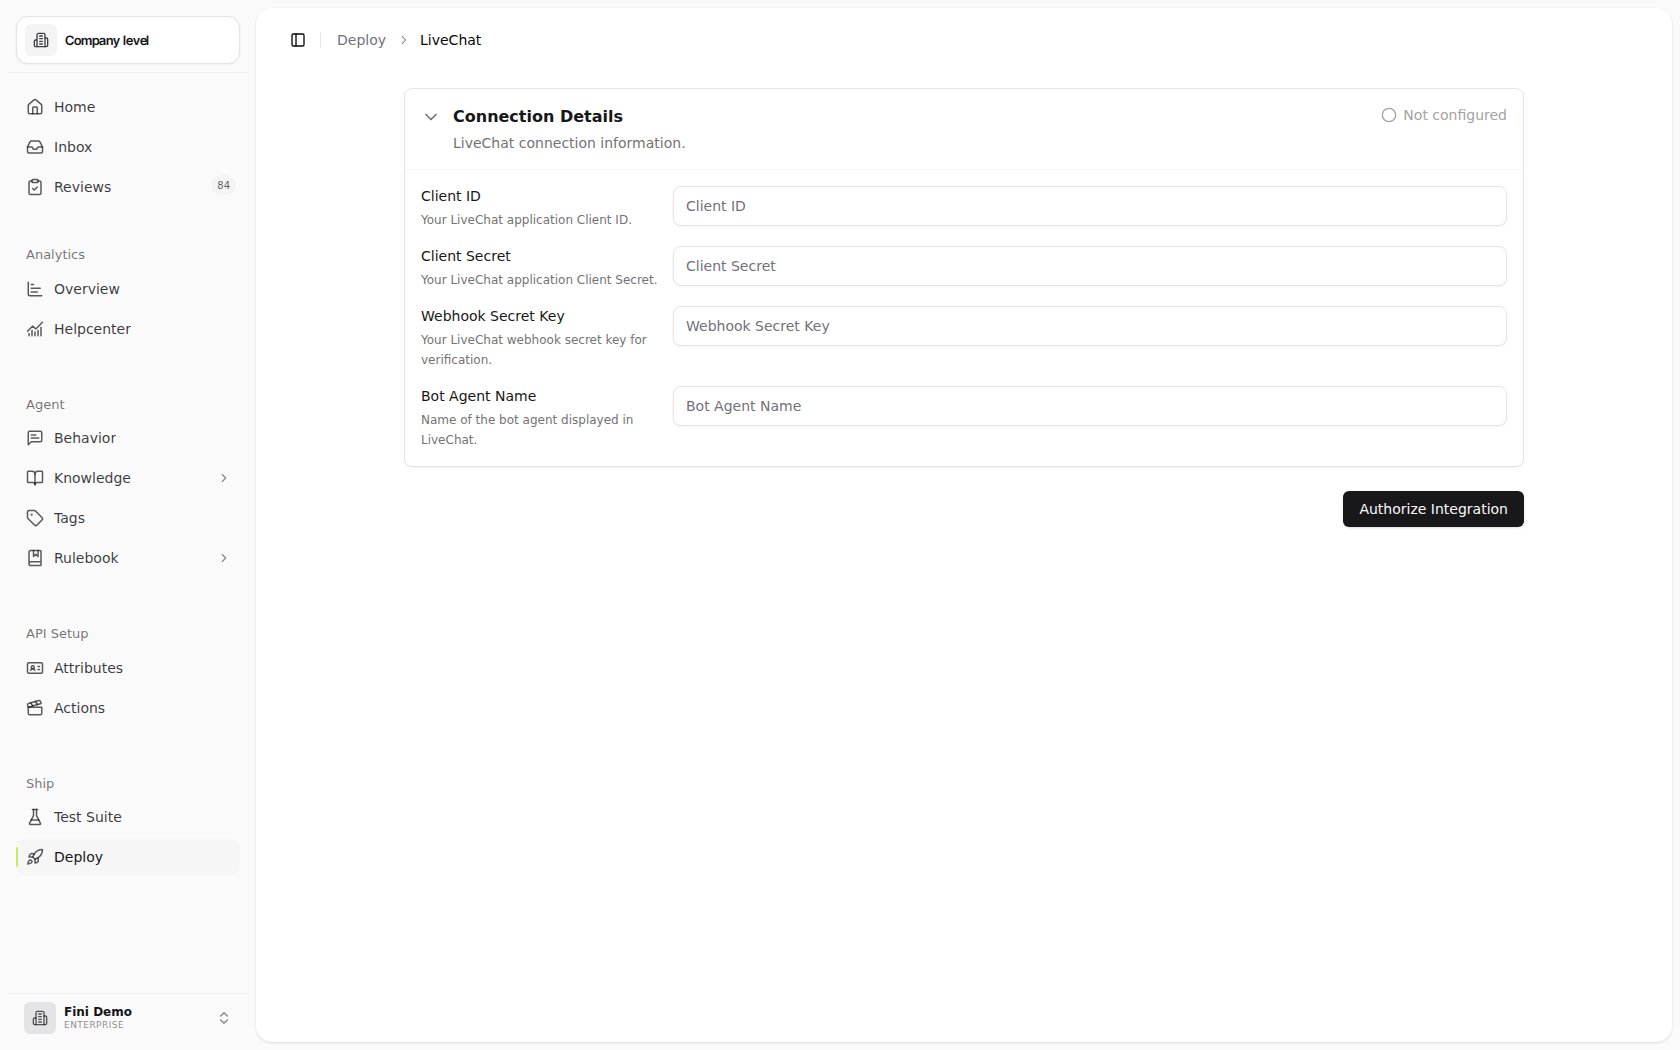
1
Fill in the Connection Details form
- Client ID: the Client ID from your LiveChat application.
- Client Secret: the Client Secret from your LiveChat application.
- Webhook Secret Key: the secret LiveChat uses to verify webhook events.
- Bot Agent Name: the display name customers see for the agent in chat.
2
Click Authorize Integration
A LiveChat login window opens. Sign in with an account that has permission to install apps and create agents in your LiveChat workspace. Approve the requested permissions.
3
Return to Fini
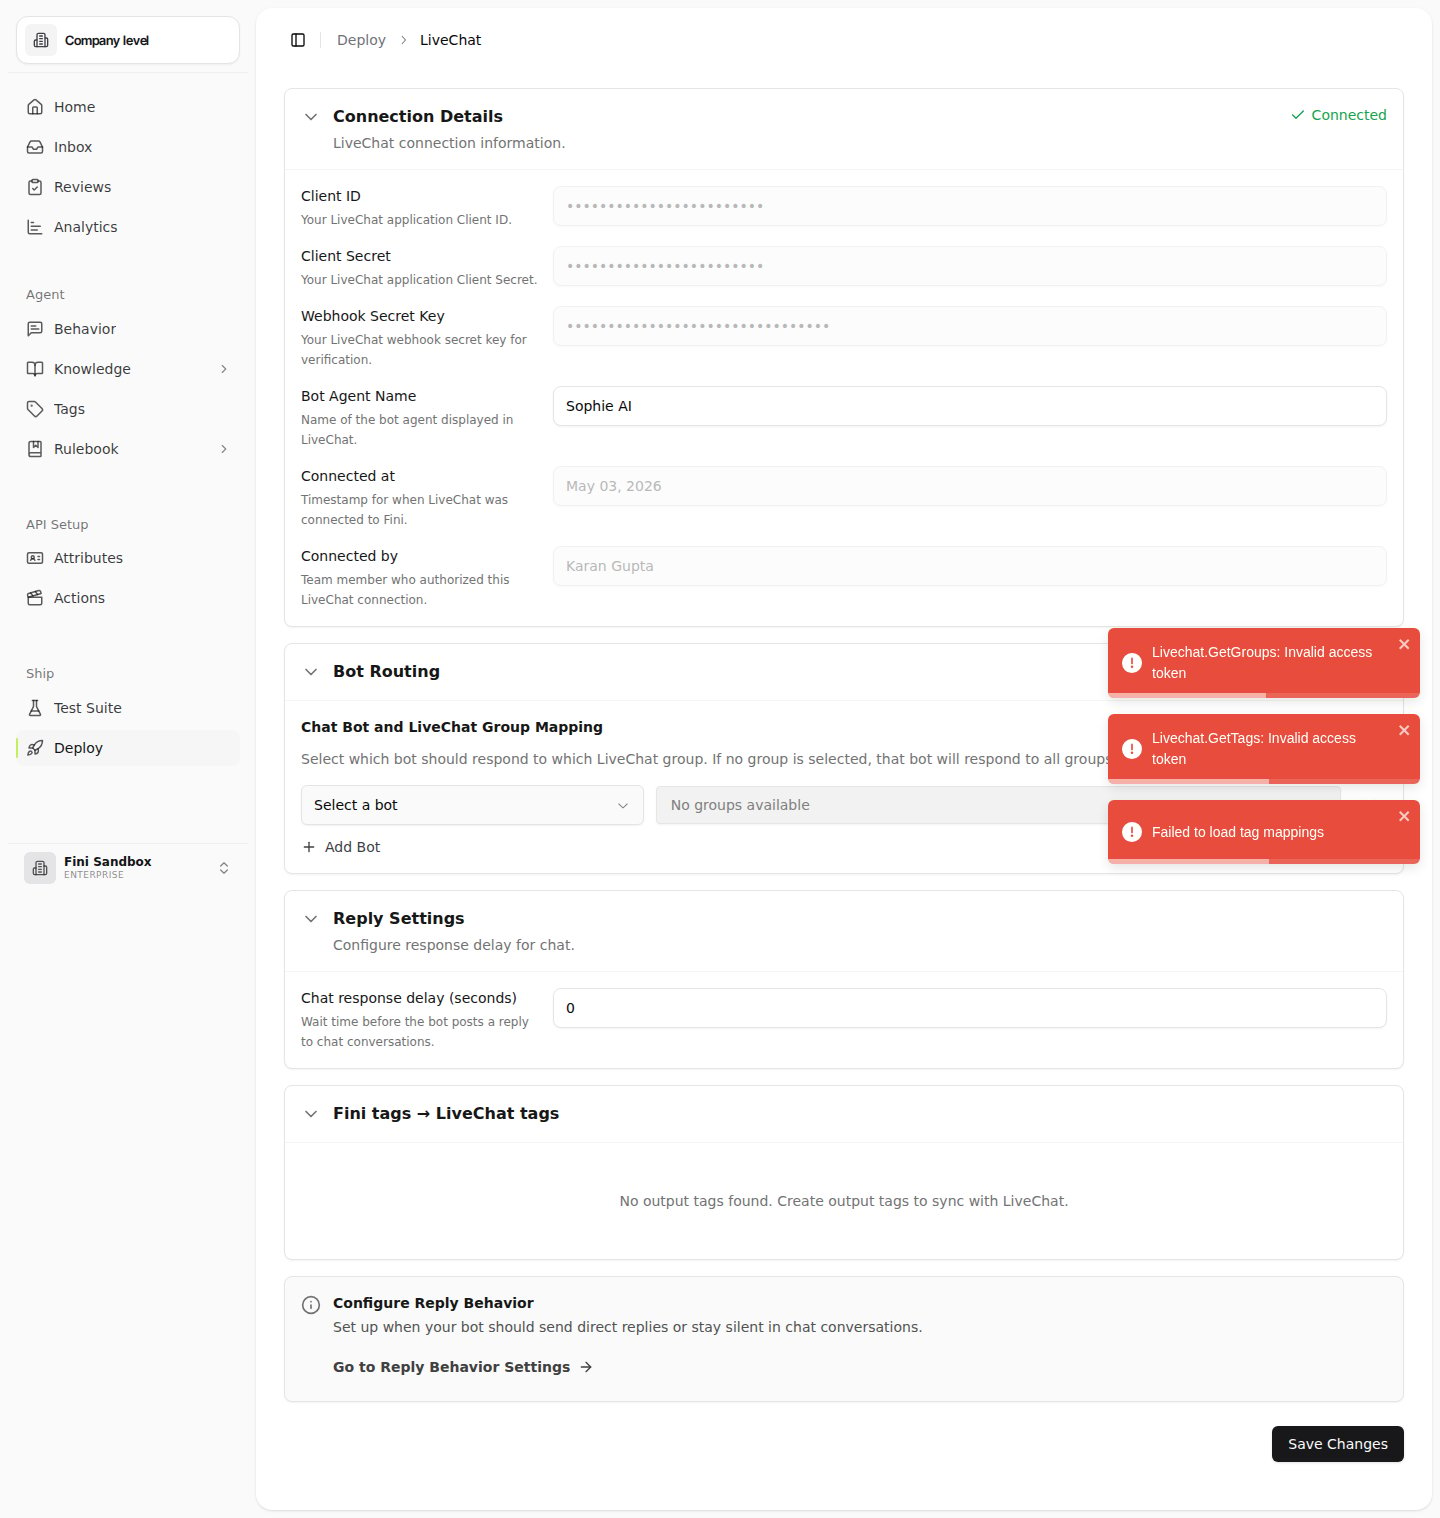
Once LiveChat redirects you back, the page expands to show your connection metadata. Fini also creates the agent in your LiveChat workspace at this point.
Configure your deployment
After connecting, three sections appear on the LiveChat deploy page. Each is independent.Connection Details
Read-only metadata about the integration once authorized:- Client ID, Client Secret, and Webhook Secret Key: locked after authorization. To use a different LiveChat application or rotate the webhook secret, disconnect first (see Troubleshooting) and re-authorize.
- Bot Agent Name: stays editable. Updating it changes the display name on subsequent replies. The underlying agent in LiveChat is not renamed automatically; if the rename should propagate, update the agent in LiveChat directly.
- Connected at: the timestamp of the most recent successful authorization.
- Connected by: the team member whose account authorized the integration.
Agent Routing
LiveChat routing is single agent, chat-only. There’s no email channel, and no per-group or per-brand split: pick one Fini agent to handle every chat conversation.- Chat Agent Routing: pick the Fini agent that should respond to chat conversations.
Reply Settings
Controls how long Fini waits before posting a reply.- Chat response delay (seconds): wait time before the agent posts on chat conversations. Setting
0makes the agent reply as soon as it has an answer. Higher values give human agents a chance to take over first.
Configure reply behavior
Reply Behavior is the higher-level rule layer that decides when the agent should post a direct reply, leave an internal comment, or stay silent. Click Go to Reply Behavior Settings on the LiveChat page to configure these rules. They apply across all channels, not just LiveChat.Verify it’s working
- From your connected LiveChat workspace, start a test chat as a customer (or have a teammate do it).
- Wait the configured response delay, then check the chat. The agent Fini created should have posted a reply.
- If nothing appears, see Troubleshooting.
Common questions
Do I need to replace LiveChat or move my chats?
Do I need to replace LiveChat or move my chats?
No. Fini joins your LiveChat workspace as an agent and replies in the chats your customers already use. See Fini on top of your helpdesk.
What does Fini do when it can't answer?
What does Fini do when it can't answer?
It escalates the chat to your team and applies the
fini_escalated_human_agent tag. You can review what the agent tried in Inbox.What name do customers see?
What name do customers see?
The Bot Agent Name you enter when connecting. It stays editable; changing it updates the name on future replies but doesn’t rename the agent record in LiveChat.
Will Fini reply while a human agent is working the conversation?
Will Fini reply while a human agent is working the conversation?
Not if you tell it not to. Add a No Reply rule in Reply Rules with Human Agent Assigned equal to
True. A higher response delay in Reply Settings also gives your team a chance to take over first.How do I pause Fini on LiveChat?
How do I pause Fini on LiveChat?
Add a No Reply rule in Reply Rules with Integration Provider equal to
livechat. Your configuration stays in place, so you can turn the rule off later.Troubleshooting
Authorization failed or expired. Click Authorize Integration again from the LiveChat deploy page. Make sure you’re signing in with a LiveChat account that has app-installation permission and that the Client ID and Client Secret in Fini match the values from your LiveChat application. The agent isn’t replying. Check, in order:- Is an agent selected in Agent Routing?
- Is the agent enabled and trained?
- Is the response delay much higher than expected?
- Is the agent created by Fini still present in your LiveChat workspace? If it was deleted in LiveChat, the integration loses its agent identity. Disconnect and reconnect to re-create the agent.
- Are there Reply Behavior rules that suppress replies on this conversation type?