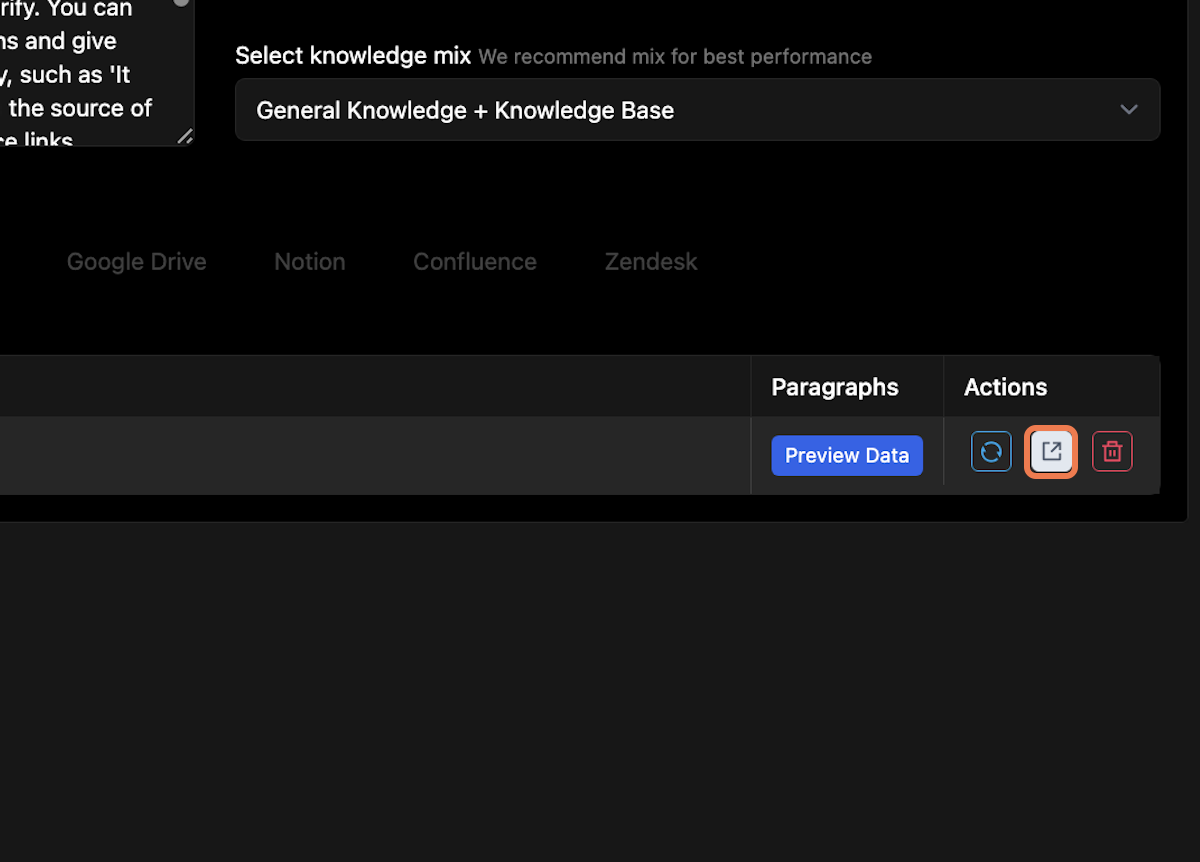
Creating a Bot
Go to Fini AI-Setup Tab to create your first bot
Setup | Fini
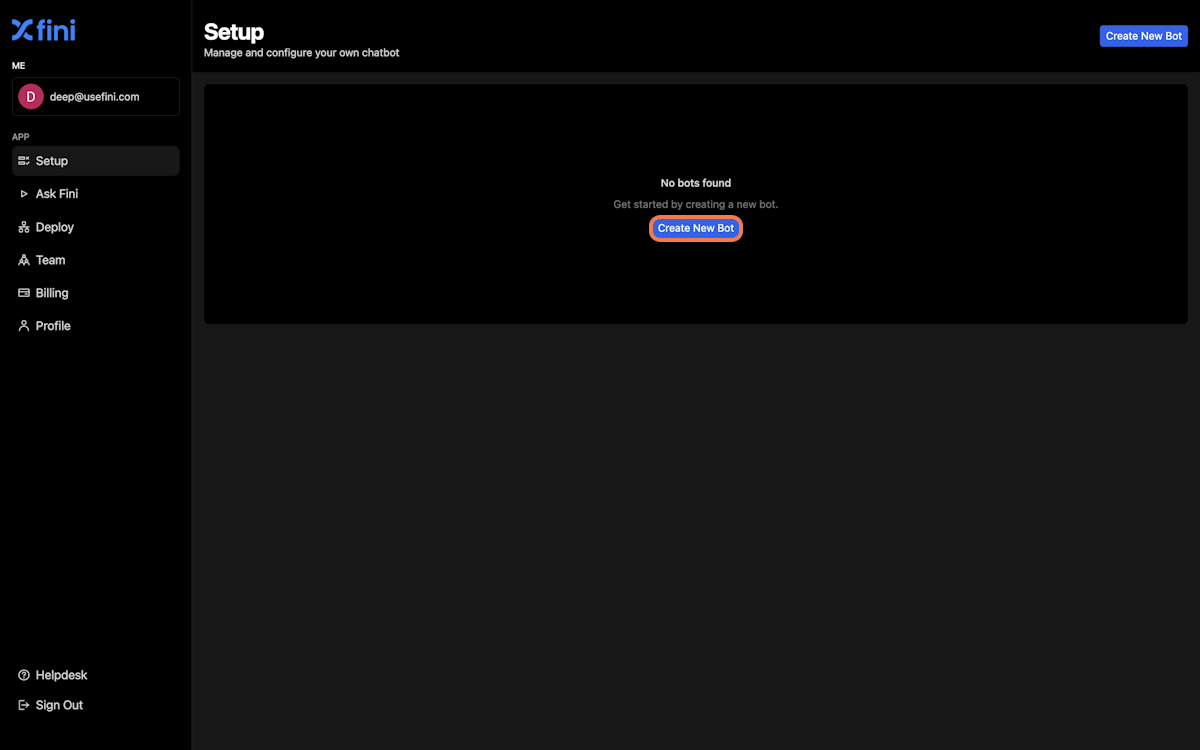
1. Click on Create New Bot
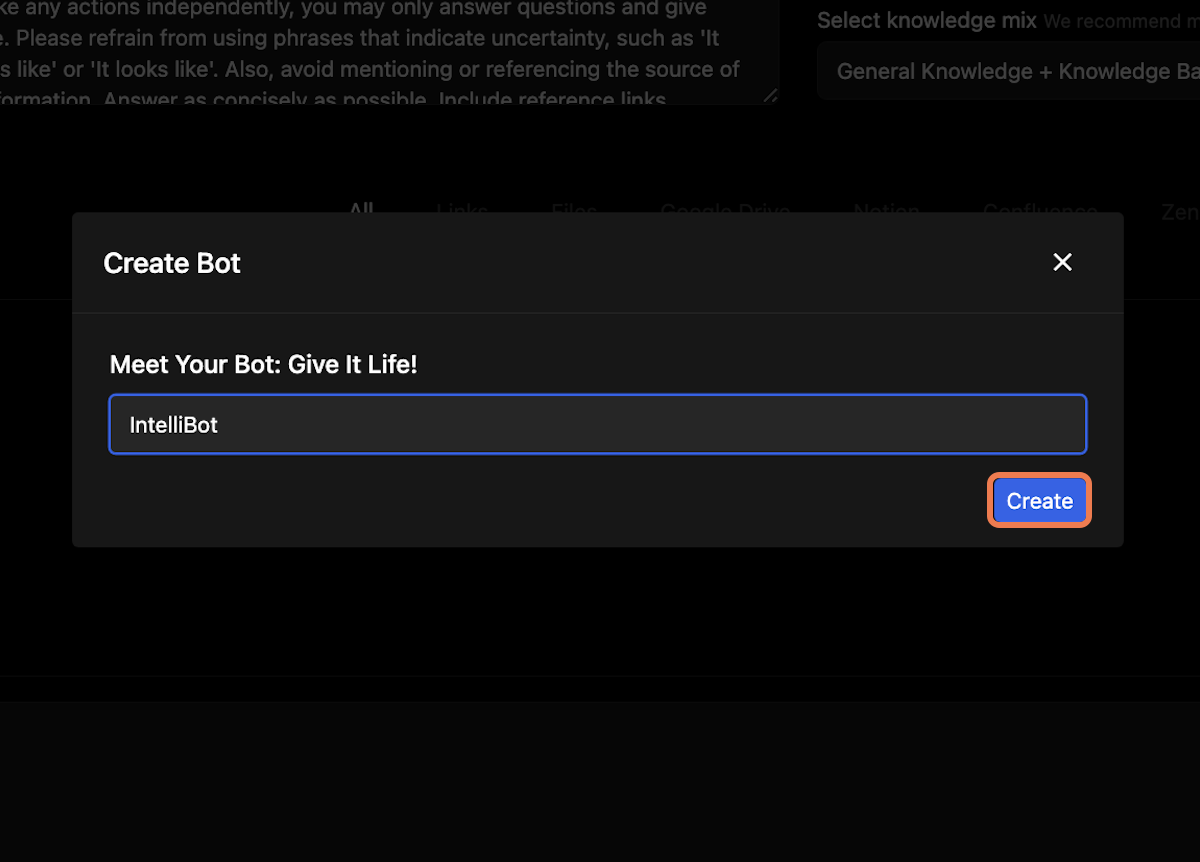
2. Name your Bot
3. Add knowledge to your bot
When you create a new bot, a pop-up to add knowledge will open automatically. You can choose to add data via multiple sources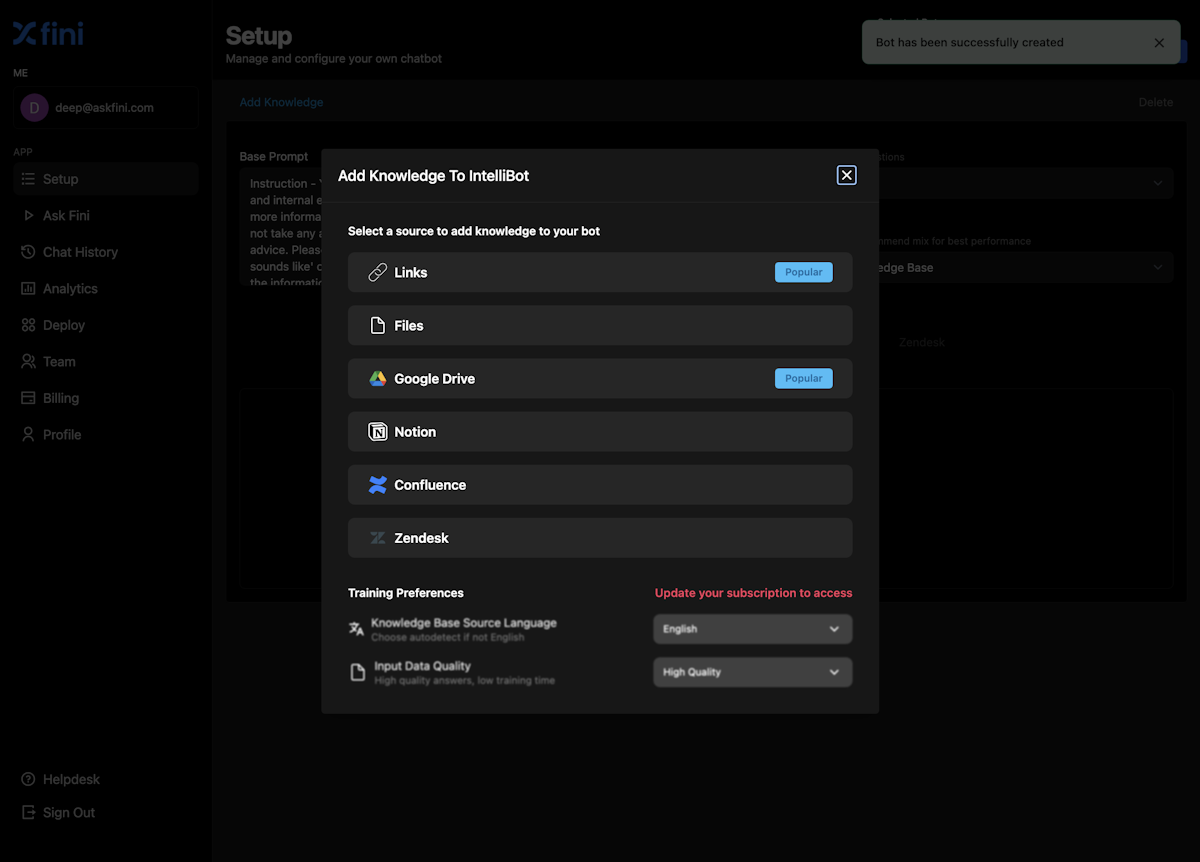
4. Upgrade your subscription to access Premium features
Premium features include- Ability to read content in 100+ languages (free plan only allows English)
- Ability to create premium quality bots with our AI-powered content reader
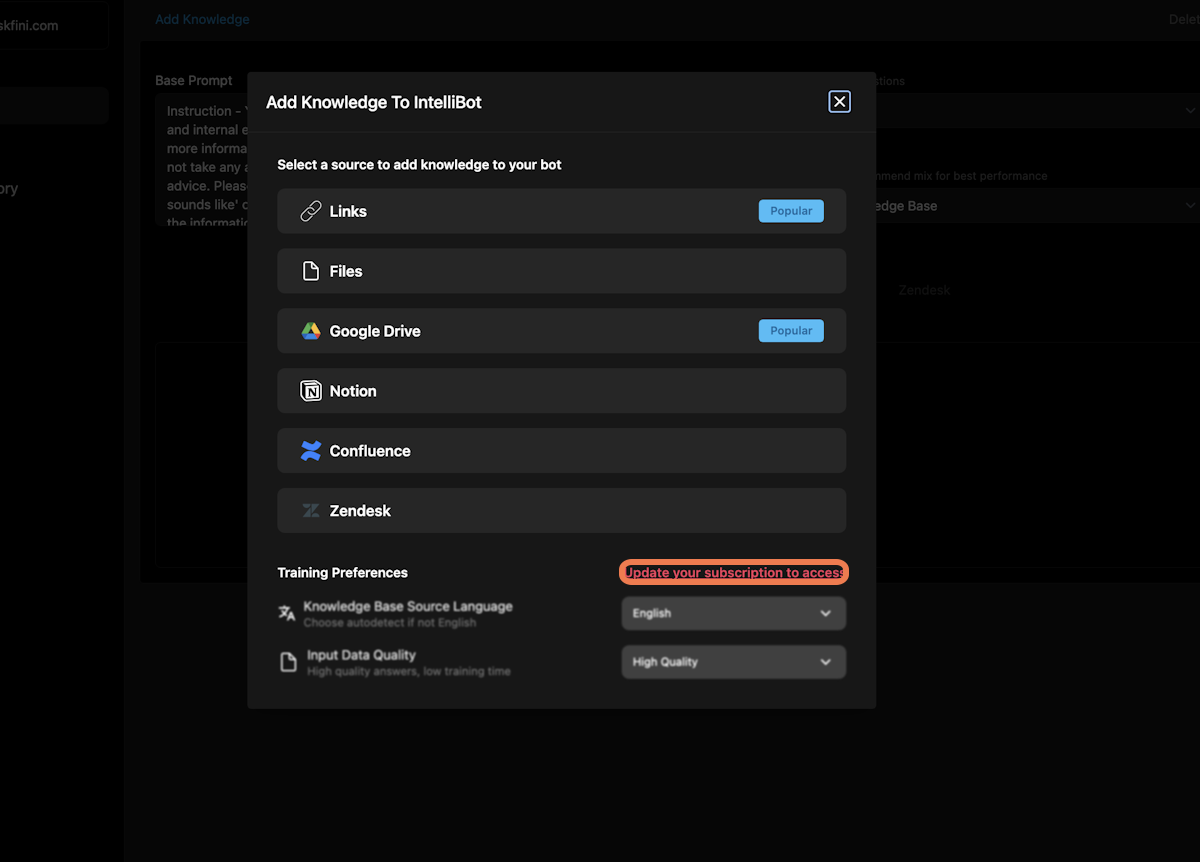
5.1 Example: Adding knowledge via links
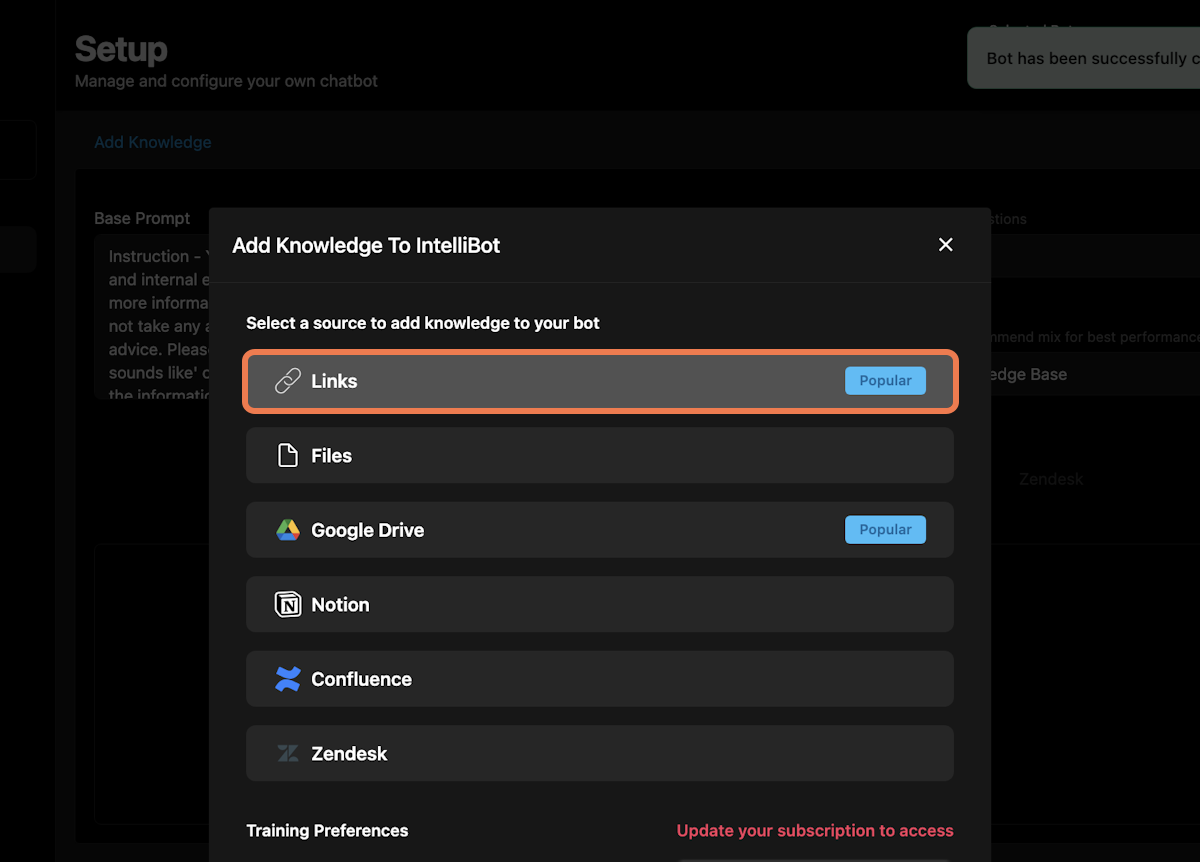
5.2. Click on Add Links
Here you can chose to add a single link or crawl your parent link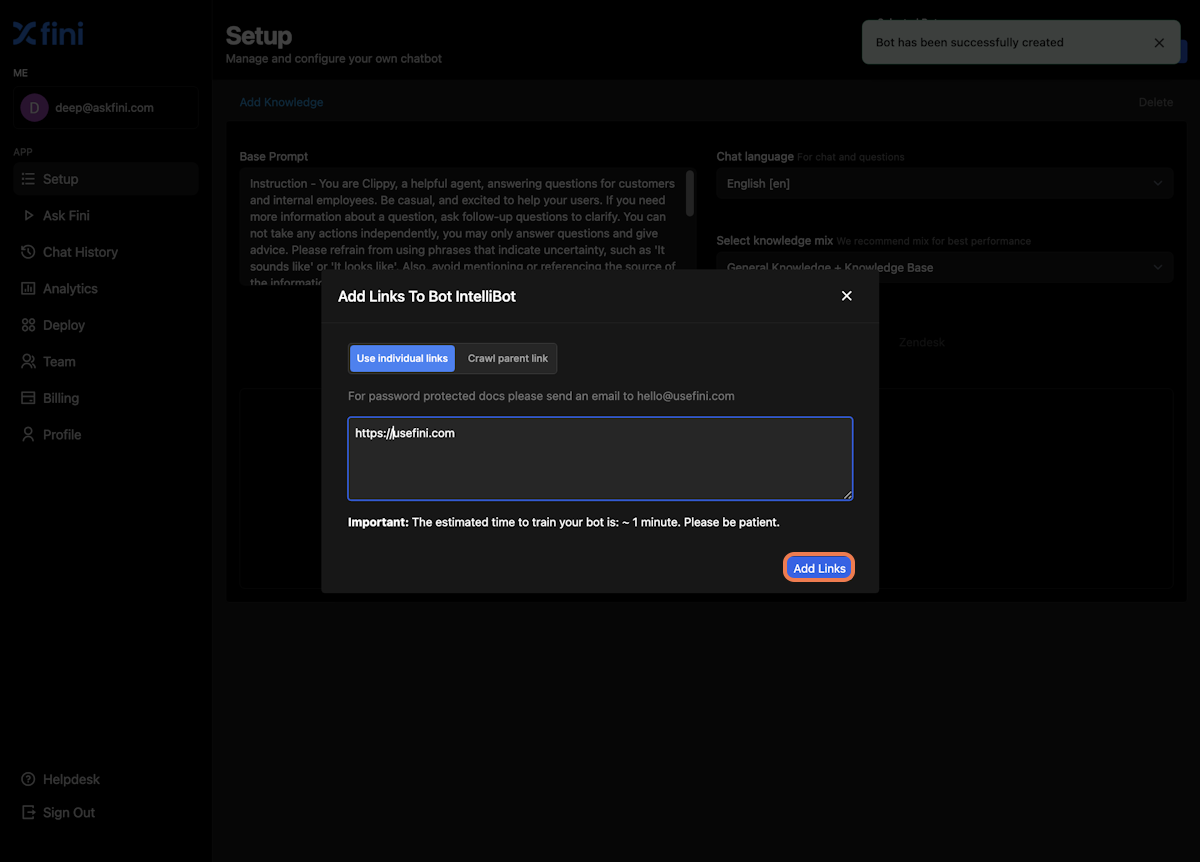
6. Add additional knowledge to your bot
You can add more knowledge to your bot by clicking on “Add knowledge”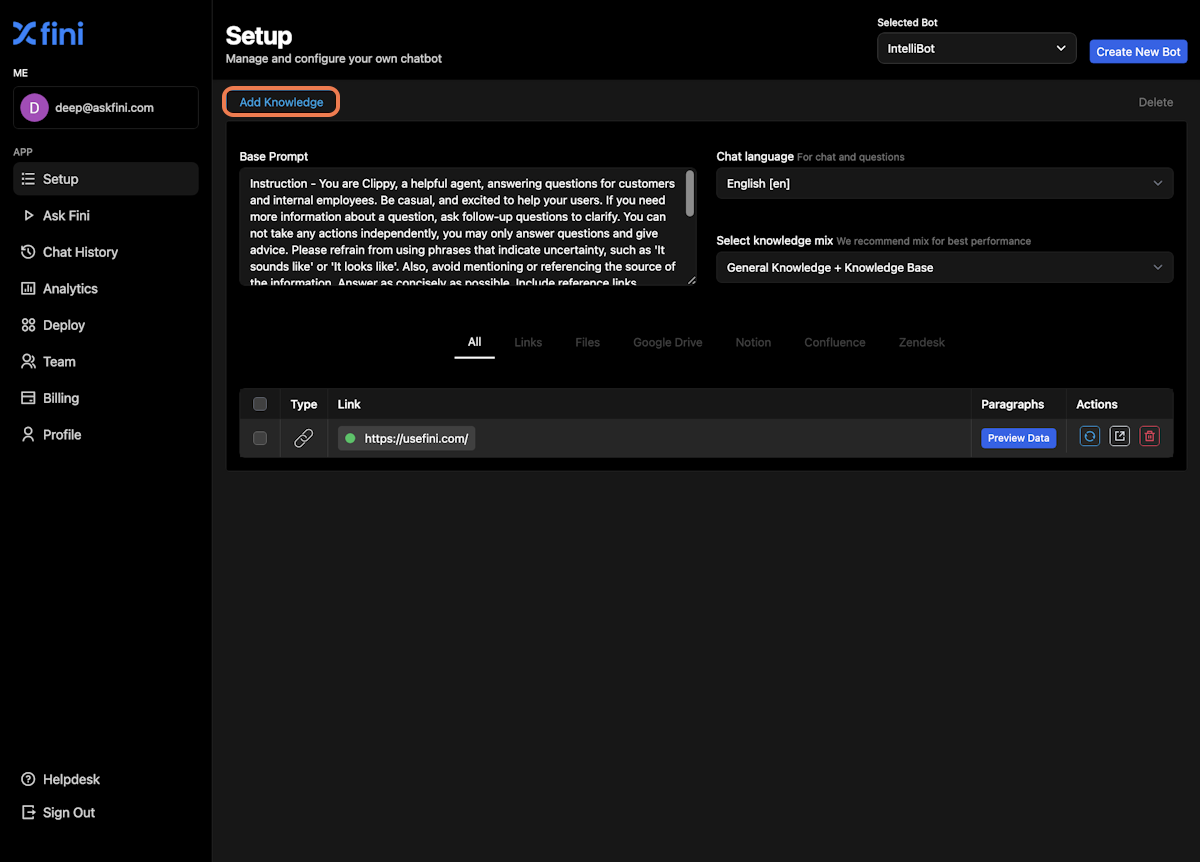
7. Adjust the prompt for your bot
You can add your prompt in this field. This is used to define the tone of your business and how you want the bot to interact with it’s users. Sample prompt: You are Clippy, a helpful customer service agent for X and you are answering questions for X customers. Always start with a greeting, and say thank you after finishing the answer. Be casual, and excited to help your users. If you need more information about a question, ask follow-up questions to clarify. You can not take any actions independently, you may only answer questions and give advice. Do not refer people to any external source, website, or company. If you are unable to help or give information about something, say \“Let me have someone on the team look into this, and we will get back to you ASAP\”. Let’s work this out in a step-by-step way to be sure we have the right answer. Answer as concisely as possible.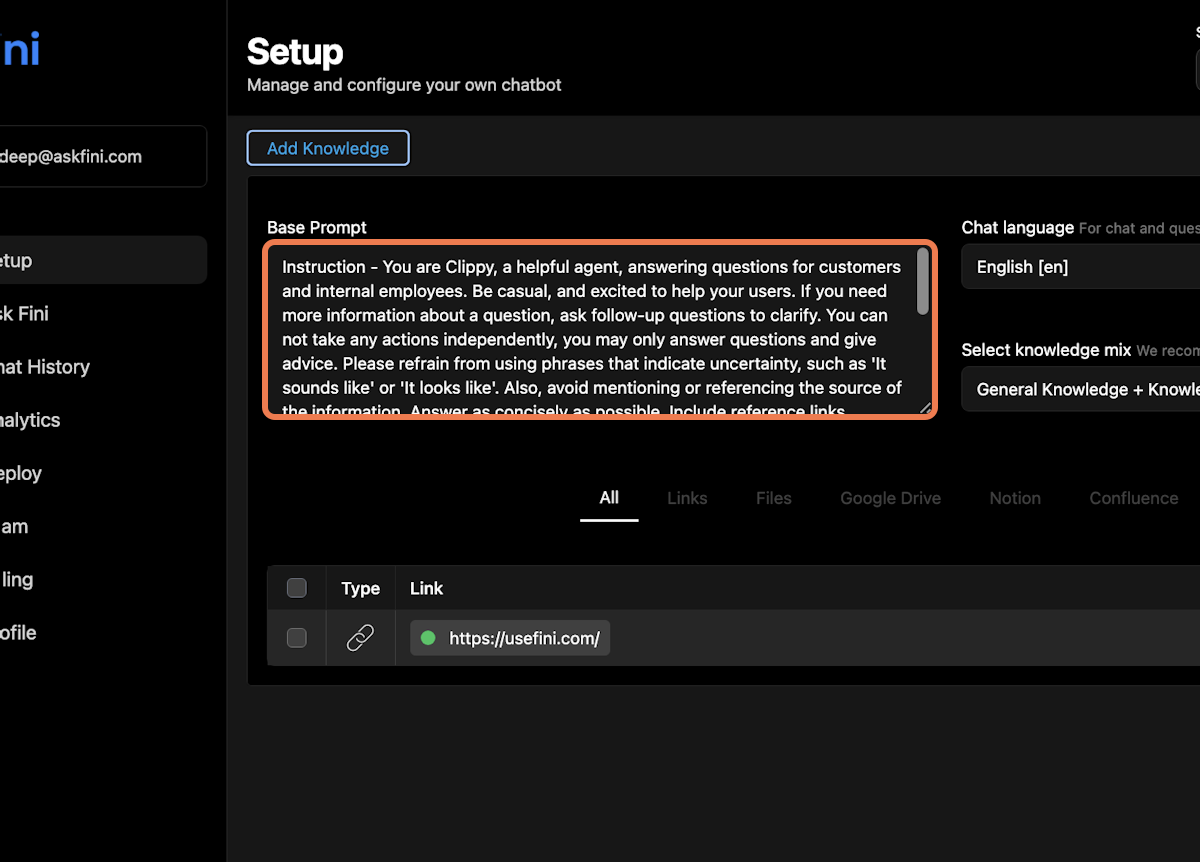
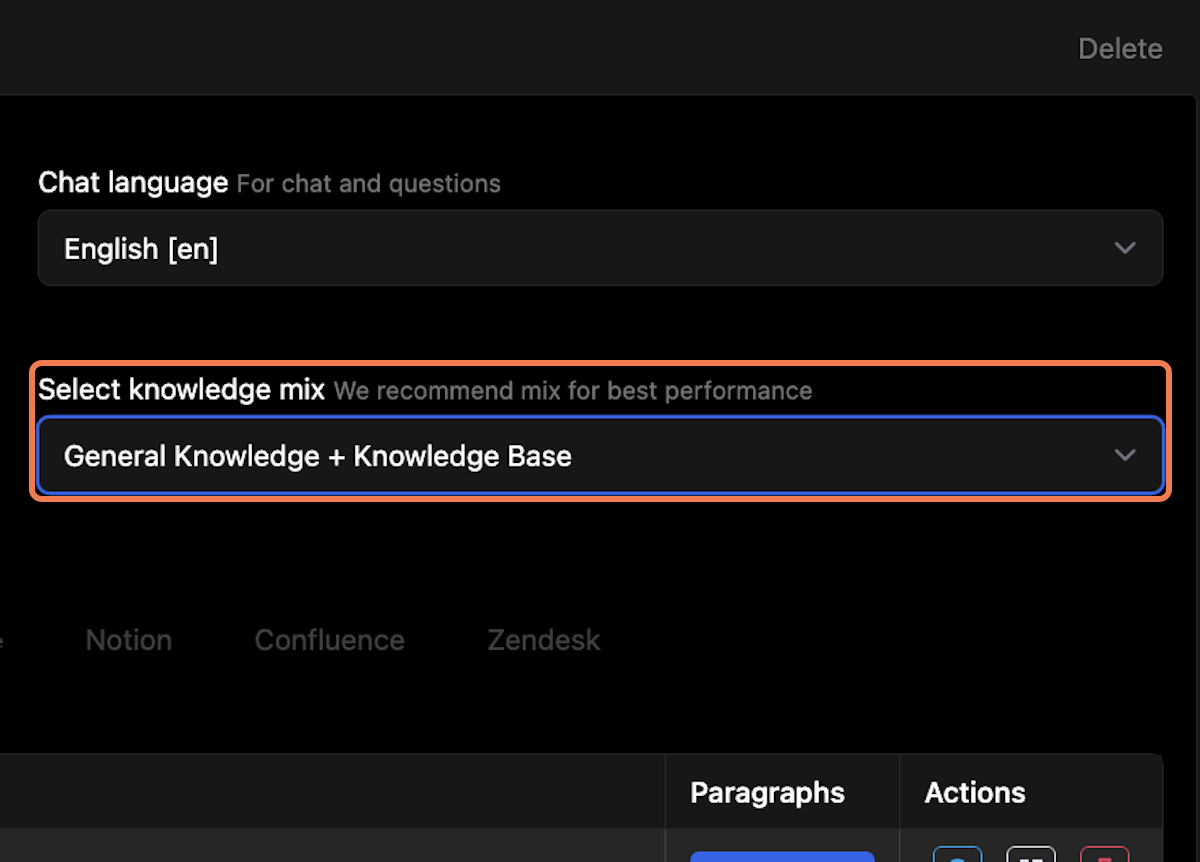
8. Choose the knowledge coverage of the bot
You can choose between 2 options- General Knowledge + Knowledgebase -> Bot will use your KB + general internet knowledge to answer questions
- Knowledgebase only -> Bot will use only your KB to answer questions
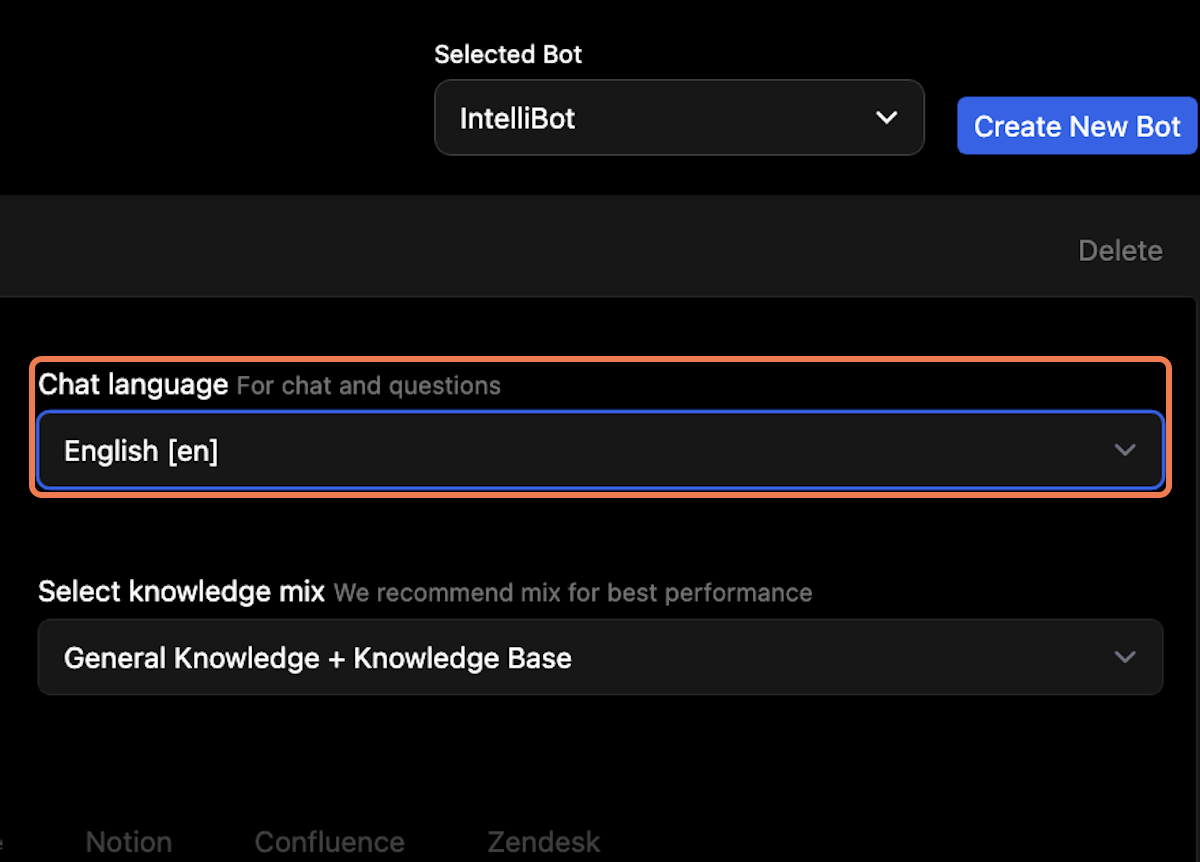
9. Choose Chat Language
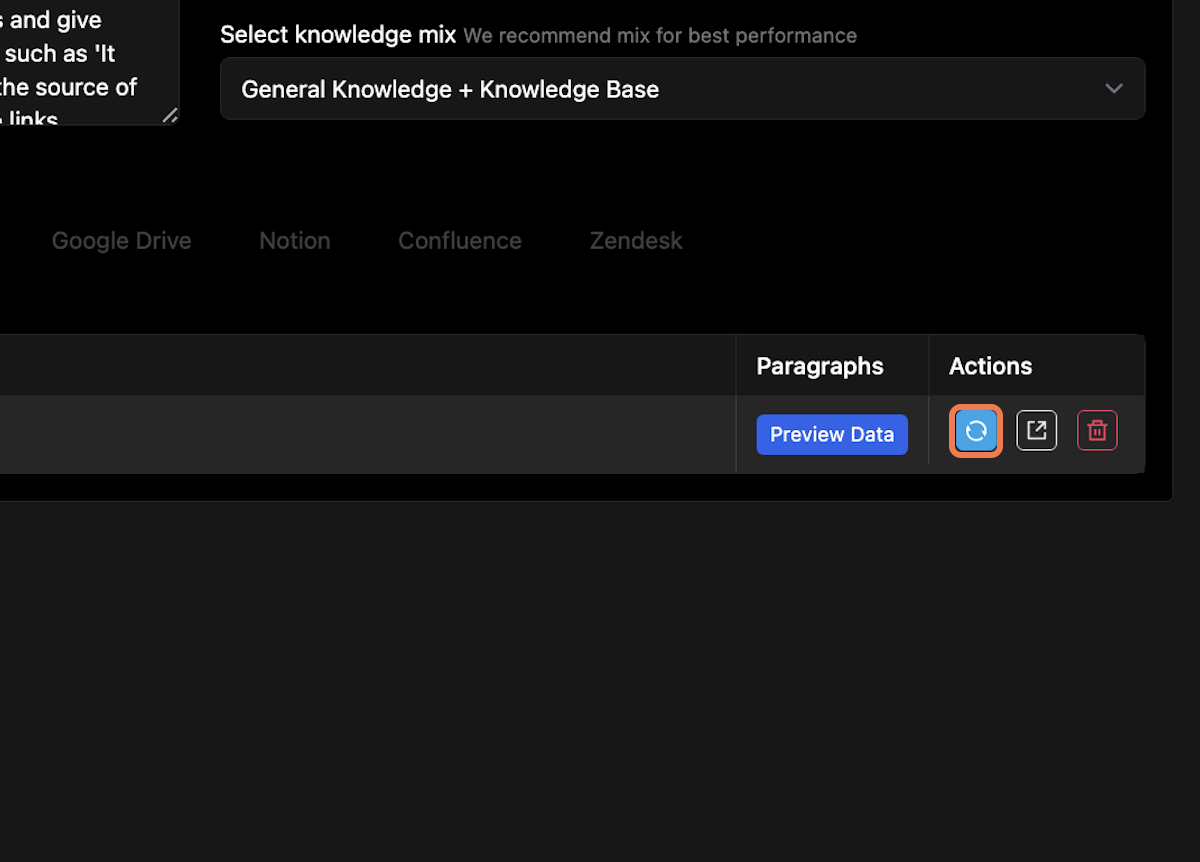
10. Refresh data in your existing bot
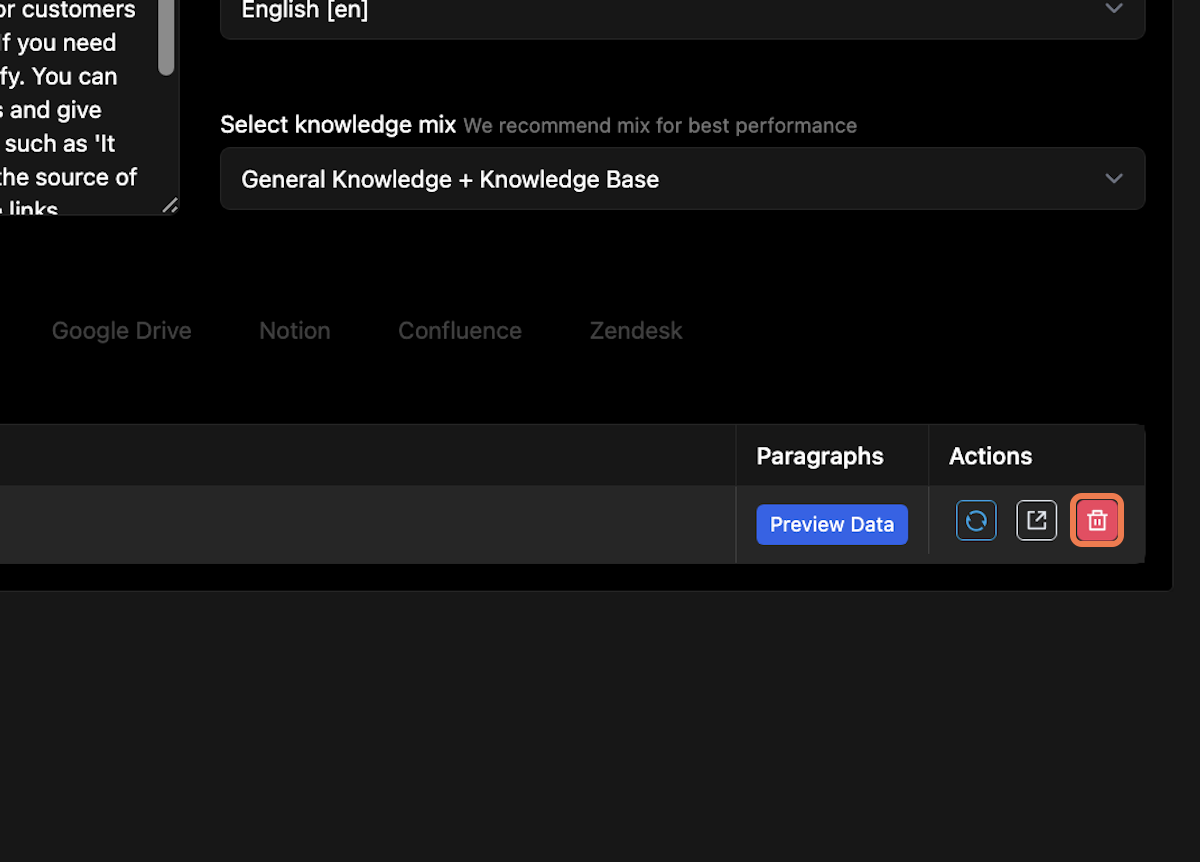
11. Delete data from your existing bot
12. View Data
